From start to finish
Our wood working process is similar to that of our living journey. These bowls are each made from a solid, once-living tree that we’ve harvested from our land or surrounding land in Michigan. Each log is put through the process that transforms it from one thing to something completely different, a lot like our lives.
Here’s our process from start to finish:
Step 1: The logging process
Finding viable and unique trees that have already fallen, bringing them to the mill, milling them, letting them air dry (a very long process sometimes, depending on the season) and then finding the perfect piece mixed with a vision. This whole process can take weeks to months. Each piece of wood is inspected for natural wear and tear, punky parts, and splits from drying.
Step 2: Find the Soul
We are big on mental health here, and just like we go each day of our lives being molded and shaped, our wood bowls go through the same thing. “Find the soul of the wood” as Michelle says. Once we find our souls, we usually find the beauty of our story, and sometimes that entails working through a lot of layers and grinding away at the less-than-pretty parts. This step includes the “finding the perfect piece for our vision” and any characters in the wood that’ll add to it, along with the initial rough carving out of the bowl. Sometimes this step leads to joy and sometimes it leads to disappointment. Sometimes this shows the beauty that’s underneath and sometimes this step shows the hidden cracks that ultimately lead to the end of that piece (and yet sometimes we are able to fix those cracks!)
Step 3: Create a Foundation of Beauty
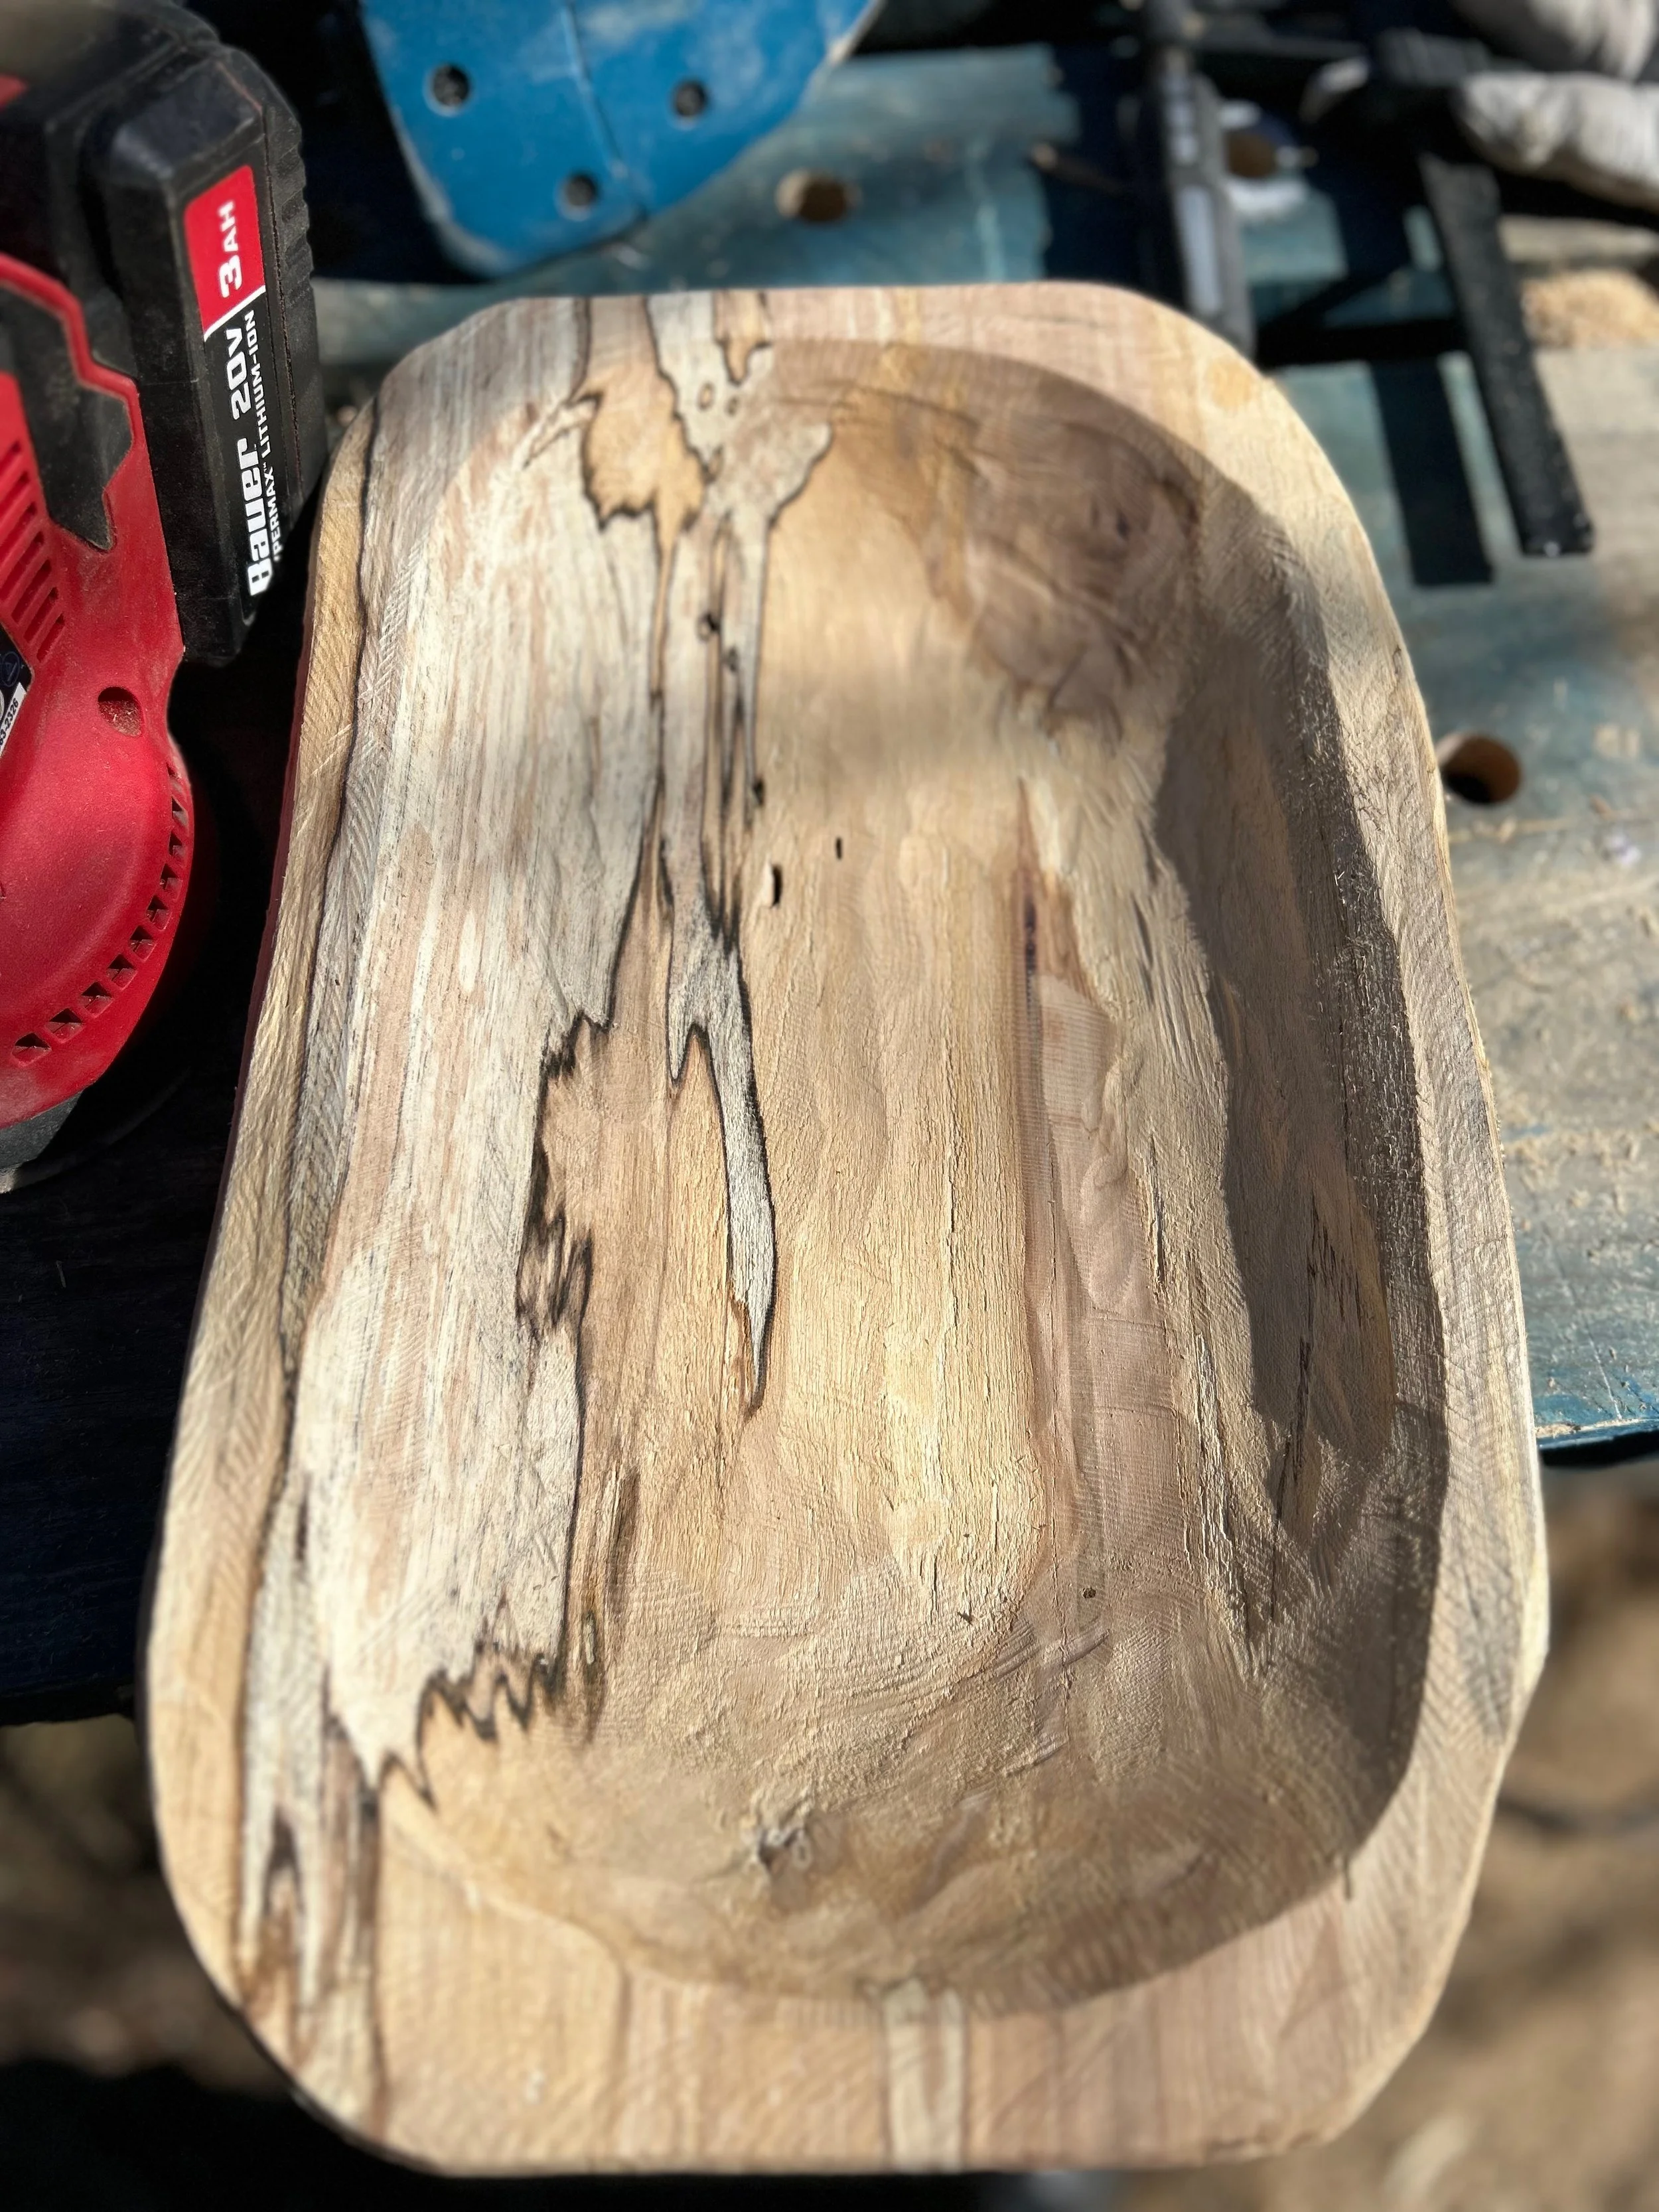
This is a fun step. Once you take out the wood that is beyond saving (decayed or punky) and you carve out the actual bowl itself, it’s time to create the final product. It still takes a lot of work, a lot of careful planning (and hoping!) to get ride of blemishes and sharp edges and rough patches and to preserve as much live edge and natural grain and character as possible. We use grinders, chisels, sanders, routers and burr bits in this step, anything we need to get deep enough into the bowl, to create smooth surfaces and again, to preserve the live edges.
Step 3 is funny, because we can have a vision and then something can go haywire and we end up having to rethink the vision and perhaps correct a mistake, but is it really a mistake when a new, beautiful product comes from it? It’s all about perspective. And, after all, it is art. Some will love it, some won’t.
This third step reminds me how important it is to take extra care as you heal, as you tumble, as you carve out your life and do the hard work on your heart and soul. Take extra care to protect certain parts and make sure you don’t make mistakes and crack the whole foundation by going too thin. Beauty is forseen, heck it was already beautiful before step 1…just like your story.
Step 4: Bask in the Beauty of the Process
When Michelle made this bowl, she sent me the progress shots and it made me so proud. As she goes on her healing journey, and I go on mine, and my parents go on theirs…we are all learning and creating and healing and rounding the sharp edges and smoothing out the blemishes, and filling in the cracks, and working through the hard parts. Each one of these bowls is different, each process looks different and each wood type has it’s own learning curve, and at the end, each final product makes us go WOW! Take something “pretty” like a slab of spalted river birch, add a lot of love and care to it, and watch it transform into something truly so beautiful in it’s own way. Then finish it in a way that makes the character and grains POP!
Look back at your story, watch the process, look at the climb and the valleys and the mountaintops and see how far you’ve come, how beautiful this chapter is and the last and mixed in with the bad is good and it all becomes a masterpiece.
Beauty is in the eye of the beholder.
If it’s not beautiful enough yet, keep going.


